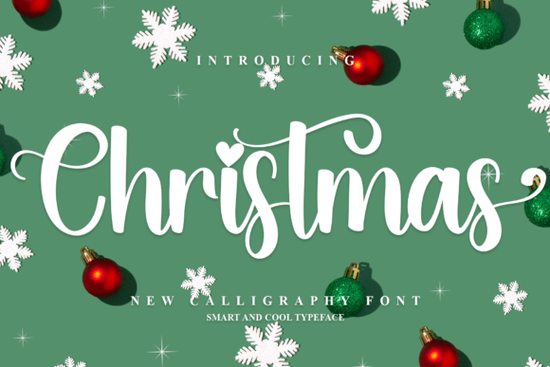
When you are creating holiday graphics, choosing the right typeface sets the entire mood for your project. The Christmas Font is a festive and merry typeface designed specifically to capture the spirit of the season. Whether you are a print-on-demand seller making seasonal t-shirts, a crafter designing custom gift tags, or a small business owner putting together holiday greeting cards, this typeface brings a cheerful and nostalgic feel to your work. It features decorative elements and a whimsical flair that instantly makes your text look enchanting.
How does this typeface look in actual holiday projects?
Designers and hobbyists often wonder how a highly decorative typeface will hold up in real-world applications. Because of its bouncy, festive letterforms, this style works beautifully for short, impactful phrases. Think about phrases like "Merry and Bright", "Joy to the World", or "Happy Holidays".
For print-on-demand sellers, it is perfect for the main focal point of a sweater or mug. Crafters can use it with their cutting machines to create layered vinyl decals for wooden signs. Small businesses will find it especially useful for adding a personal, handwritten touch to their seasonal packaging and promotional emails. The nostalgic ambiance it creates helps your brand connect with customers on an emotional level during the busy holiday rush.
What makes the technical side easy to use?
One of the biggest frustrations with decorative typefaces is losing access to the extra swirls and alternate characters. This is where the technical setup really helps. This specific typeface is PUA encoded, which means all the amazing glyphs and ligatures are mapped to standard Unicode private use areas.
In simple terms, you do not need to buy special software or use complex workarounds to access the extra flourishes. If you are using programs like Cricut Design Space, Silhouette Studio, or standard design tools like Illustrator and Photoshop, you can just type your words and use the ligature or stylistic set features to swap in the fancy tails and extra decorations. It saves you a massive amount of time when you are on a tight deadline.
Which other styles pair well with this festive look?
While a highly decorative header looks great on its own, sometimes you need to mix and match styles to create a complete design system. If you are building a holiday bundle, you might want to explore other options to give your customers variety.
- If you are browsing more festive handwriting styles, you will find plenty of variations that share this same joyful energy.
- For a brighter, more colorful vibe, you might also check out colorful rainbow script styles to add a playful pop of color to your winter graphics.
- If you prefer a cooler, icy aesthetic, icy winter handwriting options offer a great alternative that feels more like a frosty January day.
- You could even mix it up with glowing holiday lettering if you want to create an illuminated effect for your digital invitations.
- And when you need a solid, highly readable body text to balance out these decorative headers, solid dark handwriting styles are always a reliable choice for your paragraphs and details.
Pairing a bold, swash-heavy header with a clean, simple body style ensures your greeting cards and posters remain easy to read while still looking highly professional.
How can I get the most out of these decorative letters?
To make sure your final products look polished, keep a few design principles in mind when working with heavy embellishments.
- Keep it short: Use this style for headlines and short phrases. Long paragraphs in highly decorative styles are hard to read.
- Watch your spacing: Because the letters have lots of extra tails and swirls, you might need to adjust the tracking or kerning so the characters do not overlap awkwardly.
- Use contrasting colors: Classic red, deep green, or metallic gold work beautifully, but do not be afraid to try unexpected pastel winter colors for a modern twist.
- Test your cuts: If you are using a vinyl cutter, make sure the small connecting points in the ligatures are thick enough to cut and weed properly.
Quick Pre-Flight Checklist for Your Holiday Designs:
- Verify that your design software supports OpenType features or PUA encoding to see all the alternate characters.
- Check the licensing terms to ensure you have the correct commercial rights for your specific project, whether it is physical products or digital downloads.
- Print a small physical proof of your design to check the readability and ensure the fine details hold up on your chosen paper or material.
- Save a copy of your design with the text expanded or outlined before sending it to a professional printer to prevent any missing font errors.
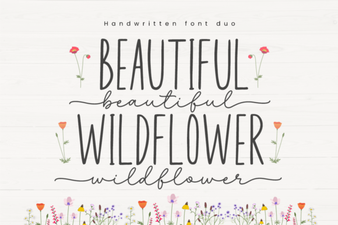 Beautiful Wildflower Font Pairings for Creators
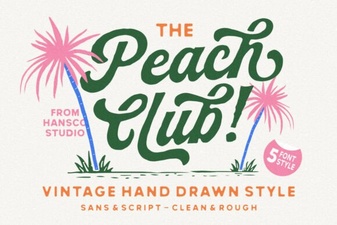 Peach Club Font for Fun & Creative Projects
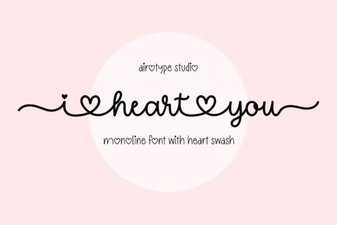 I Heart You Font for Love & Craft Projects
 Black Sample Font: Design Assets for Creative Projects
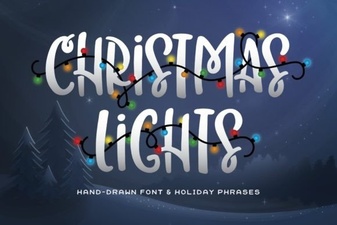 Designing with Festive Christmas Lights Fonts
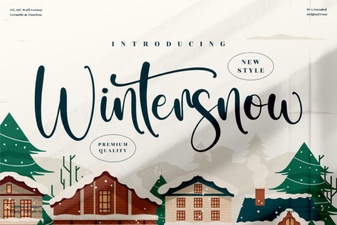 Wintersnow Font for Design Projects & Creative Ideas